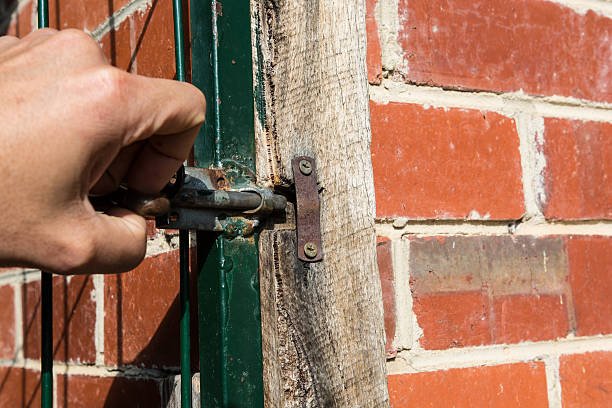
Replacing a broken door lock is essential for maintaining the security and functionality of your home or office. Whether you’re dealing with a malfunctioning lock or upgrading to a more secure model, this guide will walk you through replacing a broken door lock step-by-step.
Step 1: Assess the Lock Type and Tools Needed
Identify the Lock Type
Before you start, it’s important to identify the type of lock you are replacing. Common types include deadbolts, knob locks, lever handle locks, and electronic locks. Knowing the lock type will help you purchase the correct replacement.
Gather Necessary Tools: You’ll need the following tools for most lock replacement jobs:
- Screwdriver (flathead or Phillips, depending on the screws)
- Measuring tape
- New lockset (ensure it matches the existing door hole size and backset)
- Chisel (for mortise locks or if the new lock requires a different fit)
- Hammer
- Drill (if new holes are needed)
- Pencil or marker
Step 2: Remove the Old Lock
Unscrew the Old Lock:
- Start by unscrewing the screws on the interior side of the lock. For knob locks, you may need to remove a decorative cover to access the screws.
- Pull the knobs or levers apart to remove the interior and exterior parts of the lock.
- Remove the Latch Assembly:
- Unscrew the screws holding the latch assembly in place on the edge of the door.
- Carefully pull out the latch assembly from the door.
- Remove the Strike Plate:
- Unscrew and remove the strike plate from the door frame if you also plan to replace it.
Step 3: Prepare for the New Lock
Check the Door Holes:
- Measure the existing holes to ensure they match the new lock’s requirements. Standard hole diameters for most residential locks are 2 1/8 inches for the main hole and 1 inch for the latch hole.
- Measure the backset (the distance from the edge of the door to the center of the hole), typically 2 3/8 inches or 2 3/4 inches.
- Adjust the Holes if Necessary:
- If the new lock requires a different hole size or backset, you can make the necessary adjustments using a drill and appropriate hole saw.
- If you’re installing a mortise lock, you may need a chisel and hammer to create the mortise cavity in the door edge. If this process becomes difficult, hire a locksmith in Bishops Stortford.
Step 4: Install the New Lock
Install the Latch Assembly:
- Insert the new latch assembly into the hole on the edge of the door.
- Secure it with the provided screws, ensuring the latch plate sits flush with the door edge. You may need to chisel the door edge slightly for a perfect fit.
- Attach the Exterior and Interior Lock Components:
- Align the exterior lock component with the latch assembly and insert it through the hole.
- Attach the interior lock component, aligning it with the exterior component.
- Secure the components together with the provided screws.
- Install the Strike Plate:
- Position the new strike plate on the door frame, aligning it with the latch.
- Mark the screw holes with a pencil or marker, then drill pilot holes.
- Secure the strike plate with screws, ensuring it sits flush with the door frame.
Step 5: Test the New Lock
Check Alignment:
- Close the door and check that the latch aligns properly with the strike plate. The door should close smoothly, and the latch should engage easily.
- If the alignment is off, adjust the position of the strike plate or latch assembly as needed.
- Test Lock Functionality:
- Lock the door several times using the key and any interior locking mechanisms.
- Ensure the lock operates smoothly without sticking or resistance.
Step 6: Final Adjustments and Maintenance
Tighten Screws:
- Check all screws for tightness, ensuring the lock components are secure.
- Lubricate the Lock:
- Apply a small amount of graphite lubricant to the keyway and moving parts to ensure smooth operation.
- Check for Smooth Operation:
- Verify that the door closes and locks without any issues. If necessary, make any final adjustments to the latch or strike plate.
Conclusion
Replacing a broken door lock with a new one is a straightforward process that can greatly enhance the security of your property. By following these steps, you can ensure a proper fit and smooth operation of your new lock.
Regular maintenance, such as lubricating the lock and tightening screws, will help keep your lock in good working condition for years to come. So, you must hire a locksmith in Stansted for regular door lock maintenance and replacement when needed. Whether upgrading to a more secure lock or replacing a malfunctioning one, this guide provides all the information you need to complete the job effectively.
Sign up for our Daily newsletter
We'll be in your inbox every morning Monday-Saturday with all the day’s top business news, inspiring stories, best advice and reporting from Entrepreneur,


